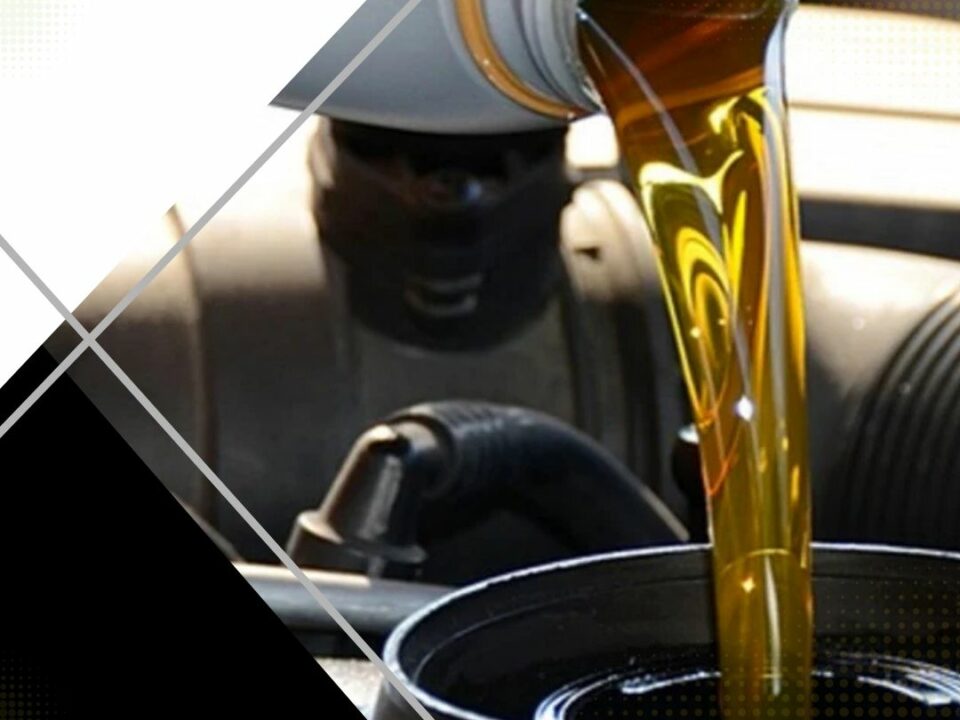
Subaru and Mazda: A Deeper Look at Oil Change Essentials
April 4, 2023
Star Automotive LLC: Your Japanese Vehicle Specialists in Newbury Park and Surrounding Areas
April 11, 2023Japanese cars are renowned for their reliability, fuel efficiency, and performance. To keep your Japanese car in top shape, regular maintenance is crucial, and one of the most important aspects of that maintenance is oil changes. This comprehensive guide will walk you through the essentials of mastering oil changes for popular Japanese car models, helping you ensure your vehicle stays in optimal condition.
Understanding the importance of oil changes for Japanese cars
Oil changes are vital for all vehicles, and Japanese cars are no exception. Regular oil changes protect your engine by reducing friction, removing contaminants, and cooling engine components. By following the manufacturer’s recommended oil change intervals, you’ll ensure a longer, healthier life for your Japanese car.
Knowing the recommended oil change intervals
Japanese manufacturers typically suggest oil change intervals ranging from 3,000 to 7,500 miles, depending on factors like driving conditions, vehicle age, and oil type. Consult your owner’s manual for specific recommendations, and always use high-quality engine oil that meets or exceeds the manufacturer’s specifications.
Choosing the right oil for your Japanese car
There are three main types of engine oil: conventional, synthetic blend, and full synthetic. Each has its benefits and drawbacks, and the right choice for your car depends on factors like the engine type, performance requirements, and climate. Most Japanese cars are designed to use either synthetic blend or full synthetic oil, so it’s important to understand the differences and make an informed decision.
Performing an oil change: step-by-step guide
- Gather necessary tools and materials: oil drain pan, wrench, oil filter wrench, new oil filter, engine oil, funnel, and rags.
- Warm up your engine to help oil flow more easily.
- Park on a level surface and turn off the engine. Allow it to cool for a few minutes before proceeding.
- Locate the oil drain plug and place the drain pan beneath it. Use the wrench to loosen and remove the plug, allowing the oil to drain completely.
- Remove the old oil filter using the oil filter wrench.
- Lubricate the gasket of the new oil filter with fresh engine oil, then hand-tighten it onto the engine.
- Replace the oil drain plug and tighten it securely.
- Use a funnel to pour the recommended amount of engine oil into the oil filler hole.
- Replace the oil filler cap and start the engine. Check for leaks around the oil filter and drain plug.
- Turn off the engine and wait a few minutes before checking the oil level with the dipstick. Top off if necessary.
Disposing of used oil and filters
It’s essential to dispose of used oil and filters responsibly. Many auto parts stores and service centers accept used oil and filters for recycling. Check with your local facilities to find an appropriate drop-off location.
By mastering oil changes for your Japanese car, you’ll protect its engine, prolong its life, and maintain optimal performance. Remember to follow the manufacturer’s recommendations for oil types and intervals, and always use high-quality engine oil. With regular maintenance and attention to detail, you’ll ensure your Japanese car remains a reliable and efficient driving companion for years to come.


